How to connect to Apigee with keyless Workload Identity Federation
There are several authentication options when connecting to Apigee. Use this option when your agent runs outside Google Cloud, another cloud, or on-prem and you want to avoid a static, secret key file.
Prerequisites
One-time setup in Google Cloud:
- Create a Workload Identity Federation pool and a provider for your cloud provider (for AWS, an
aws-type provider configured with your AWS account ID). - Grant your Apigee service account the
roles/iam.workloadIdentityUserrole, scoped to the specific IAM role your agent will run as. Scope this narrowly to that one role — this binding is what replaces a static key file, so avoid a wildcard grant. - Generate the credential configuration file for that provider. In the Google Cloud Console, use the option that ties the file to your specific service account (look for Connected service accounts), not the provider's generic config download — the generic version won't carry Apigee permissions.
On your cloud provider (AWS example):
Use these steps when your agent runs outside Google Cloud.
The steps below use AWS as an example — the same pattern applies to any cloud provider or on-prem environment that has its own IAM identity to federate.
-
Create an IAM role for your agent's compute to run as (e.g. an ECS task role), trusted by the WIF provider from step 1 in the previous section.
-
Provide the credential configuration file from step 3 in the previous section in the field shown for Keyless — Workload Identity Federation.
Important — how you deliver this depends on how you're running the agent:
- Running via the Docker Compose setup described below (a VM or your own host): save the credential configuration file to disk next to your
docker-compose.yaml, mount it into the container, and set the field to that file's path — the same pattern as the service account key file option. - Deploying via a cloud container/task service instead (e.g. an AWS ECS/Fargate task definition): you do not need to mount a file or build a volume. This field also accepts the credential configuration's JSON content directly, so you can paste it straight into your task definition's environment configuration (for example, as an AWS Secrets Manager secret referenced in the task definition's
secretsblock) the same way you would supply a database password or API token. Don't build a file-mounting setup for this — it's unnecessary.
- Running via the Docker Compose setup described below (a VM or your own host): save the credential configuration file to disk next to your
Connect to Apigee
- In API Control Plane, select Environments > Register Gateway.
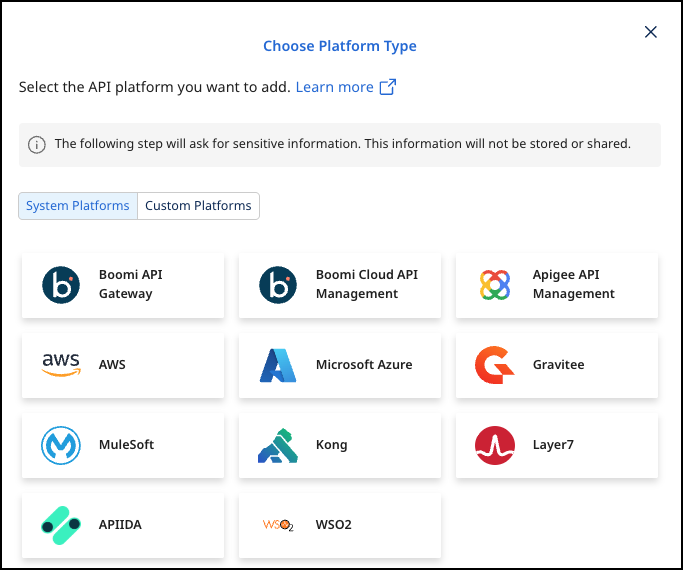
- Select Apigee API Management.
-
Add the following:
- Gateway Name
- Organization
- Authentication Method : Keyless - Workload Identity Federation
- Credential Configuration file : Name of the Workload Identity Federation credential configuration file. This is a non-secret file that describes how to exchange the environment's identity for Google credentials. The file must be present in the same directory as the
docker-compose.yamlfile. - Developer
-
Select Next.
-
Select Download and Next. Your configuration file will download automatically.
Create an Agent as Intermediary
The following describes how to create a Docker container for the agent. It is described using a Docker compose file so that additional agents can be easily added to your docker stack later.
-
Docker Compose file options:
imageThe docker image of the API Control Plane Agentcontainer_nameYou can change the name of your Agent hereenvironmentbackendUrlThe agent will establish a web-socket to this URL and connect to your API Control Plane.agentTokengateway.typegateway.organizationgateway.googleAuthFilegateway.developergateway.gatewayEnvironments=test-env,prod-envList of environments
volumes
-
Set
AWS_REGIONas a plain environment variable on your agent's container. Some AWS compute types don't set this automatically. -
Run the following command:
docker compose up --pull always --detach -
Start the agent. It fetches a short-lived credential from your cloud provider, exchanges it with Google, and authenticates to Apigee.
Check the Agent's Status
-
In API Control Plane, select Environments. Your agent is now connected to API Control Plane.
-
Click on the tile or the entry in the table to get more detailed information about the status of the connection. This can be very useful in case of an error.
